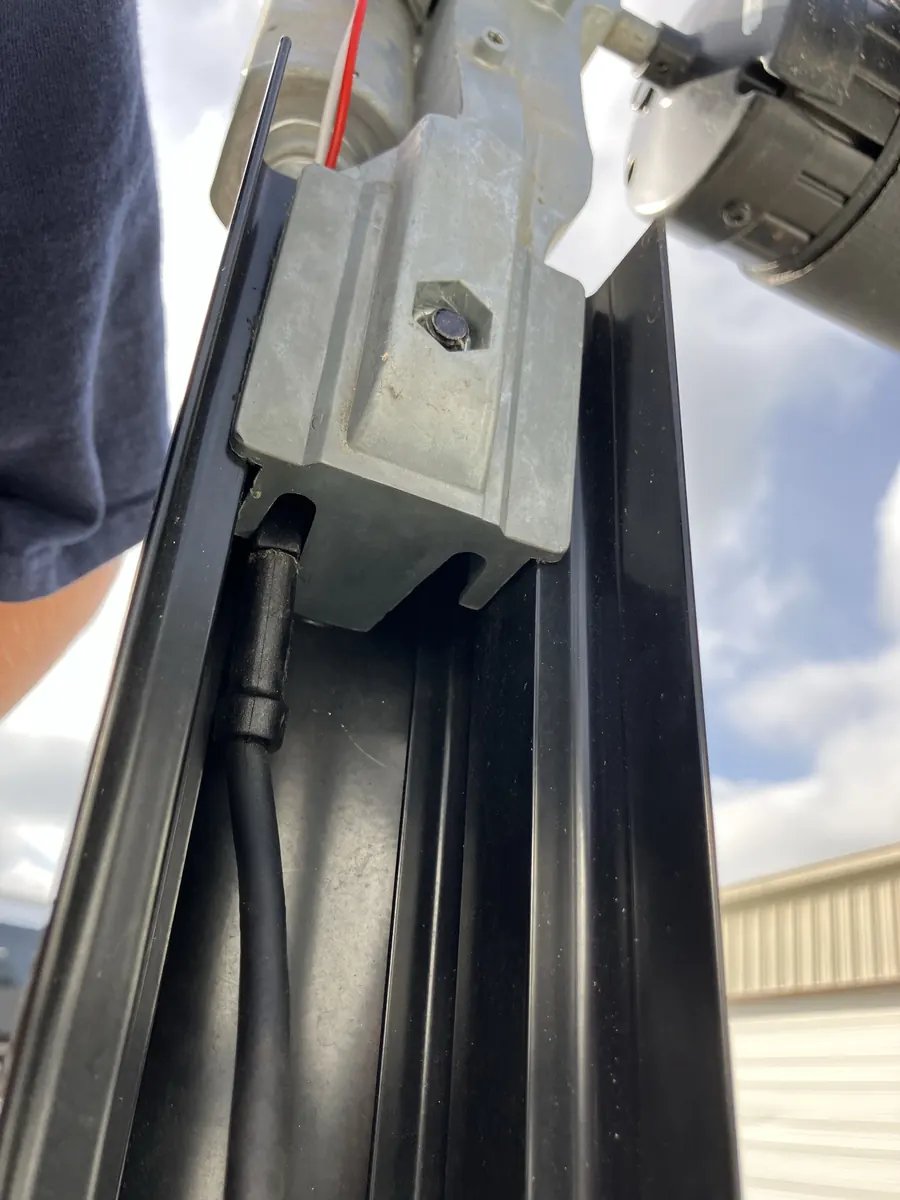
A power awning that does absolutely nothing can make a bad motor seem like the obvious answer. This repair is a good example of why the motor should not be the first part ordered. Power made it through the fuse and switch and all the way outside, but a loose two-wire connection at the motor interrupted the circuit.
Use the symptom to choose the first test
| What the awning does | Start here |
|---|---|
| No sound or movement in either direction | 12V supply, fuse, switch or controller, harness and motor connector |
| Works in only one direction | Reversing switch, controller output, connector terminals and wiring |
| Clicks or hums but does not move | Low voltage under load, binding arms, gearbox or motor |
| Motor runs but roller does not move correctly | Drive-head, roller connection, gears, fabric tracking and arm damage |
| Stopped after wind or impact | Stop electrical testing and inspect for bent or unsafe hardware |
The repair below applies to a basic 12-volt awning with a wired reversing switch. Smart awnings, multiplex controls, ignition interlocks and remote receivers add other possible failure points. Identify the awning manufacturer, model and hardware series before using a wiring diagram or ordering parts.
Tools that make this diagnosis easier
- Digital multimeter with insulated probes
- Fuse puller or test light
- Correct screwdriver or bit for the non-structural drive-head cover
- A helper to operate the switch
- The wiring and service manual for the exact awning
Use the meter's DC-voltage setting. Keep the red lead in the voltage jack, not the high-current jack. Accidentally placing a meter set for current across the circuit can create a direct short.
Step 1: Confirm the awning is truly dead
Try EXTEND and RETRACT once while listening near the drive head. Watch for a light dimming, relay click, motor click or slight arm movement. Stop immediately if the arms are bent, the fabric is loaded by wind or water, or the motor sounds stalled.
Check coach battery condition as well. Other lights working does not prove the awning circuit can supply current. If the awning works only while plugged into shore power or with the engine running, low battery voltage or voltage drop moves higher on the list.
Step 2: Test the labeled awning fuse
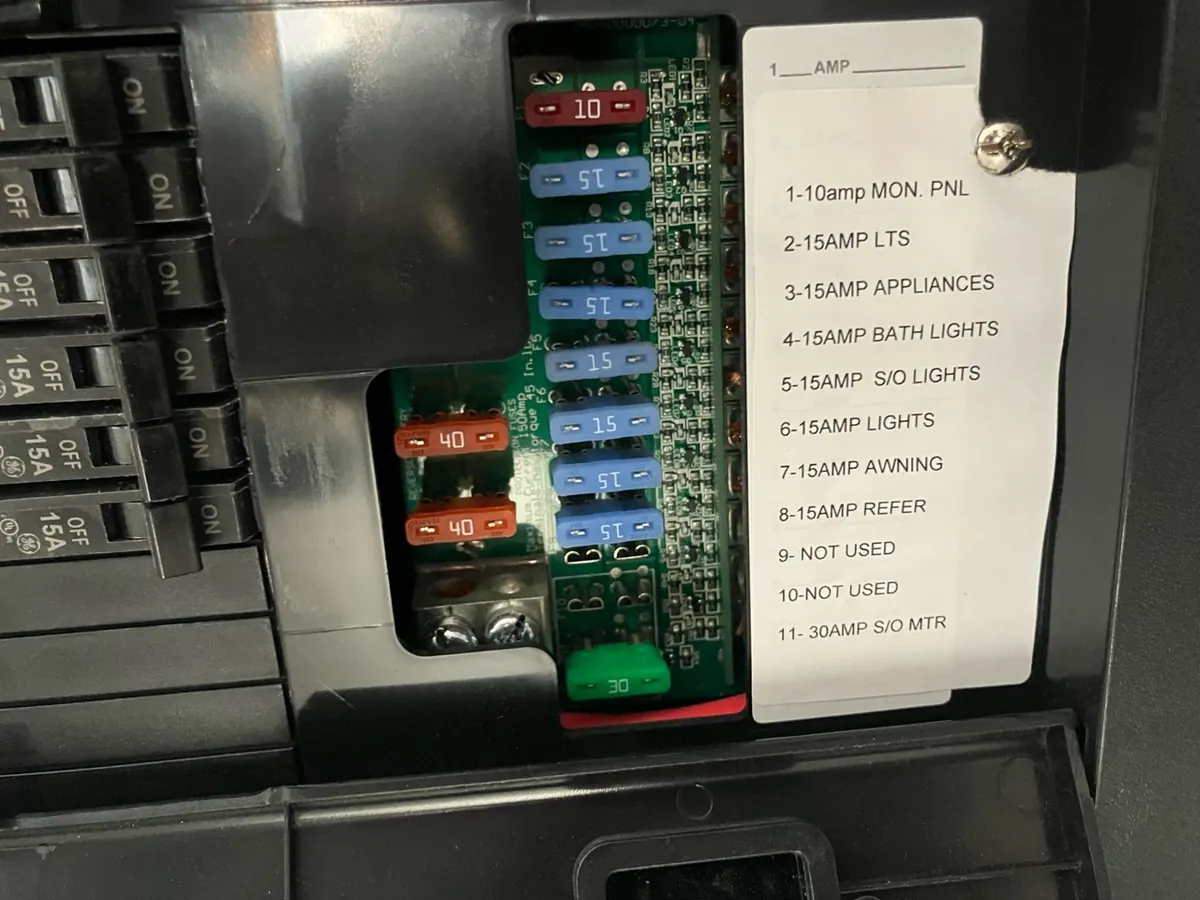
Do not rely only on the fuse element looking intact. With the circuit powered, check both exposed test tabs on a blade fuse to a known ground, or remove power and check the fuse for continuity. Power on one test tab but not the other indicates an open fuse. No power on either side means the problem is upstream or the circuit is switched elsewhere.
If a replacement fuse opens again, stop. A pinched wire, shorted connector, wet control, stalled motor or damaged harness needs diagnosis. Repeatedly installing fuses can overheat wiring.
Step 3: Prove the switch has input and output
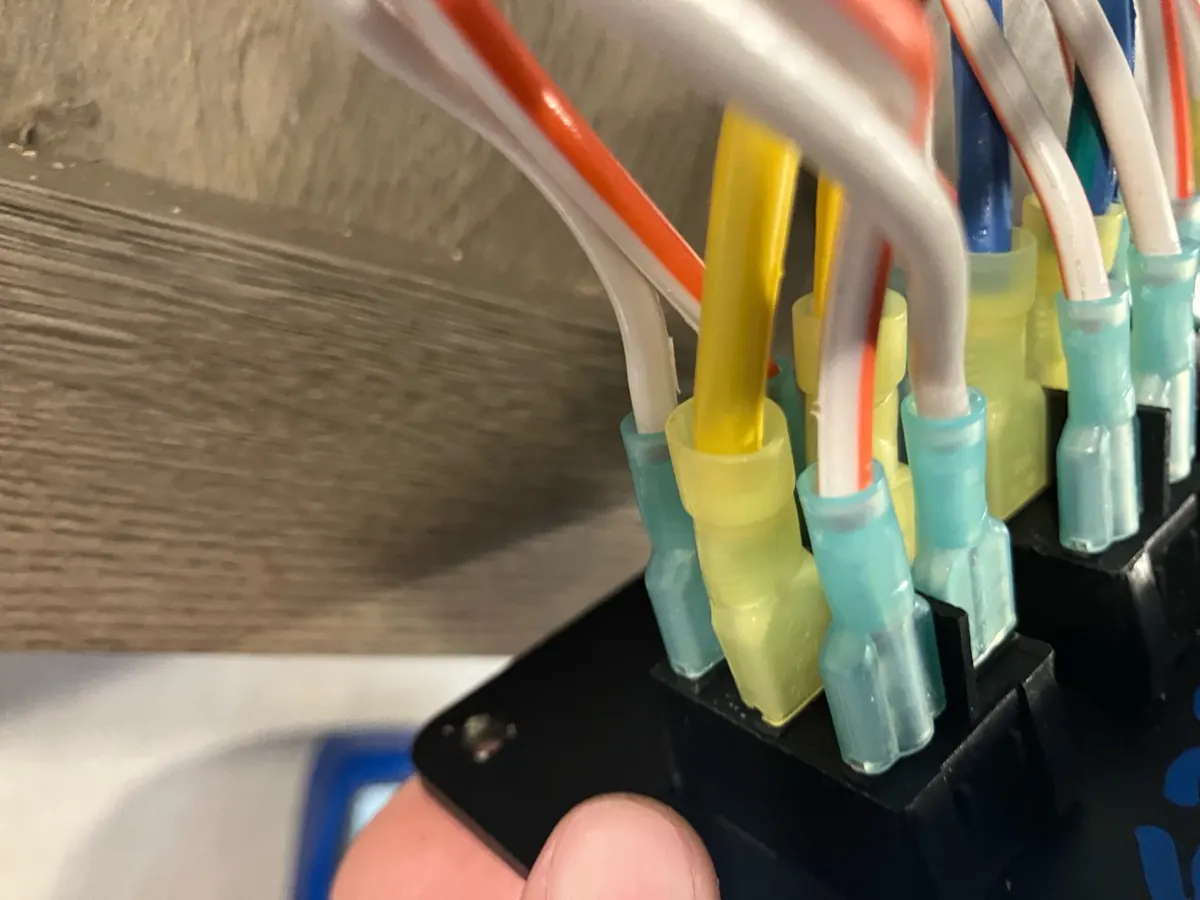
A basic awning switch reverses the polarity sent to a two-wire DC motor. First verify that the switch receives its 12-volt feed and ground. Then measure across the two motor-output wires while a helper briefly holds EXTEND and RETRACT. A meter may show a positive number one way and a negative number the other way; the changed sign simply shows that polarity reversed.
- Power enters the switch but no output leaves: suspect the switch, a loose terminal or an upstream control/interlock arrangement that differs from a simple switch.
- Output appears in only one direction: suspect one side of the switch or control circuit.
- Output appears in both directions: continue toward the exterior harness and motor connector.
Do not let bare probes bridge adjacent switch terminals. Turn battery power off before removing or reinstalling the switch, and photograph every connection before moving a wire.
Step 4: Inspect the drive-head connector before buying a motor
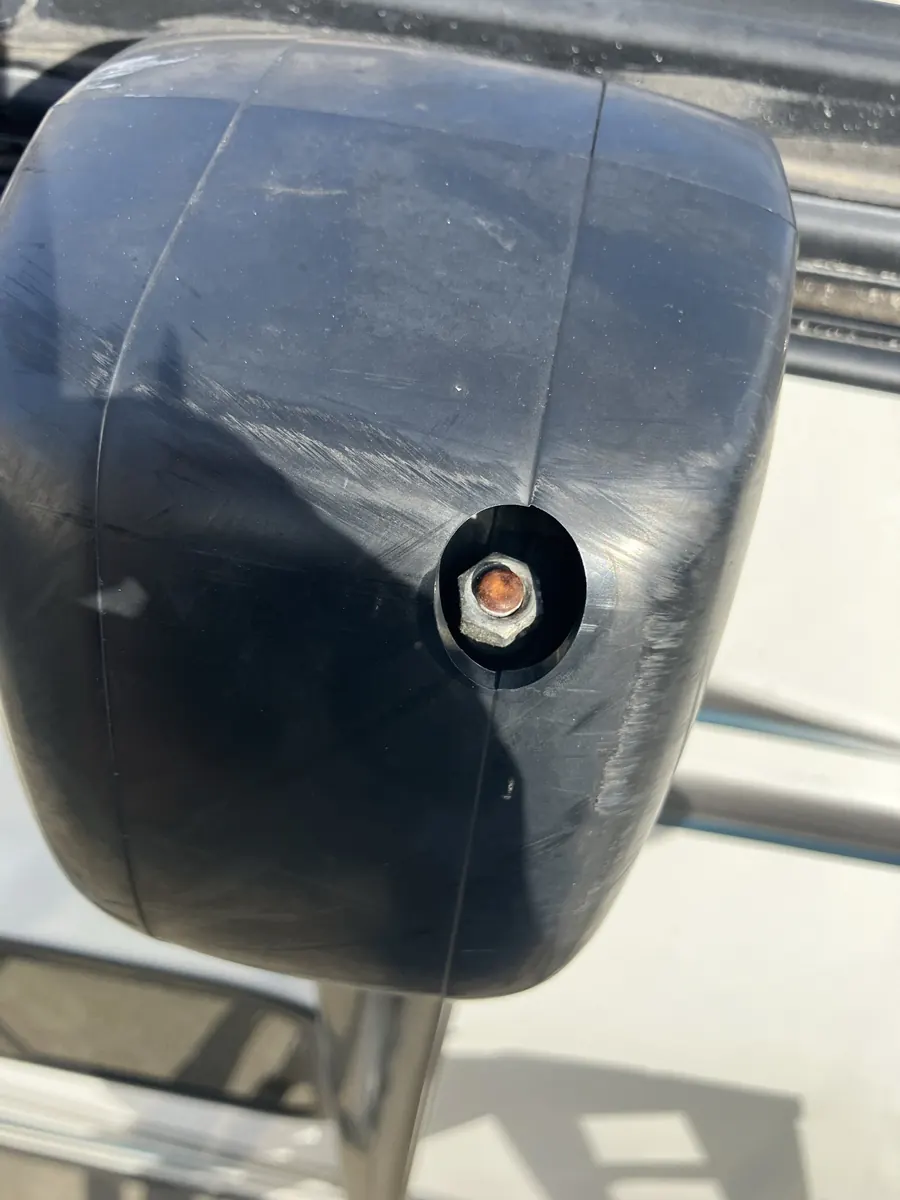
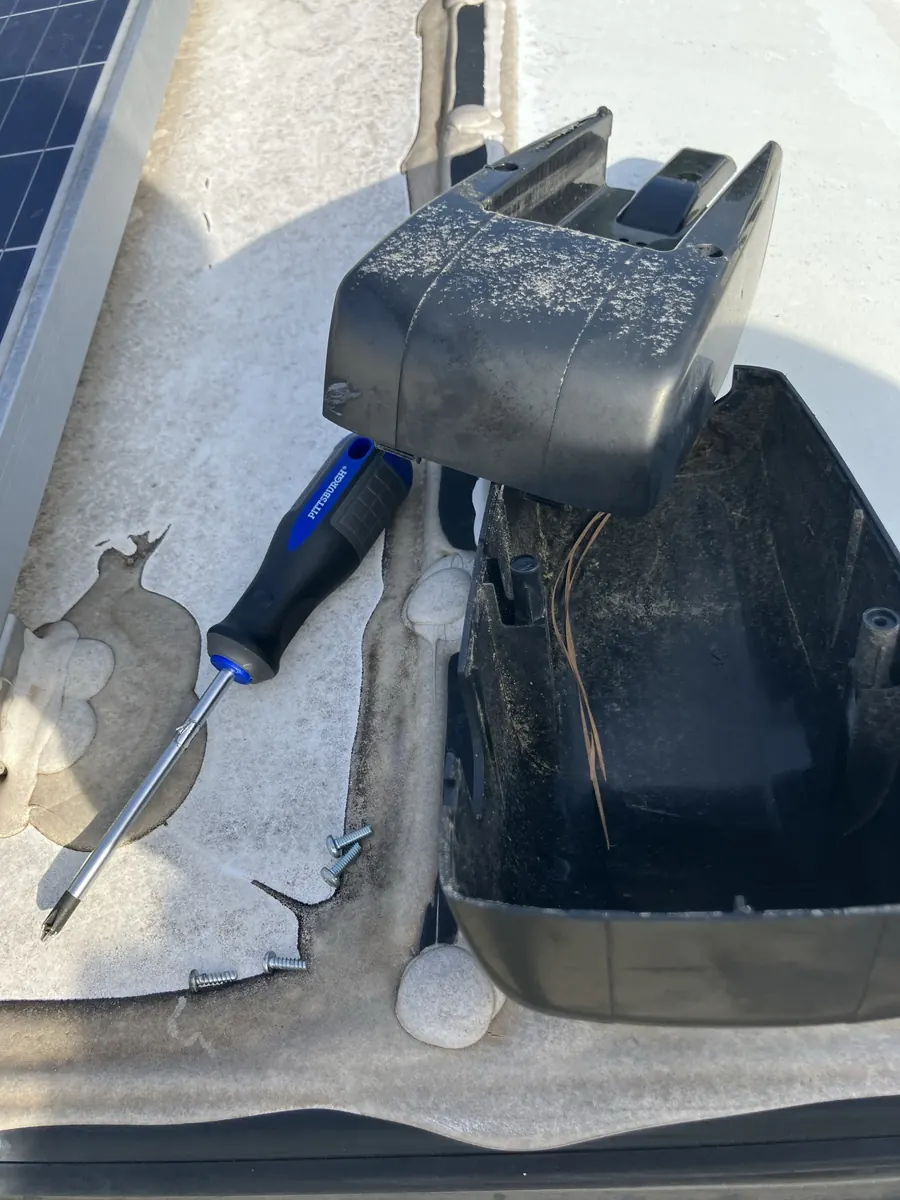
With 12-volt power off, inspect the two-wire connection at the drive head. Look for:
- A connector that is not fully seated or does not click into its latch
- One terminal pushed backward inside the plastic housing
- Green corrosion, moisture, heat discoloration or melted plastic
- Wires stretched tight, pinched by the arm or rubbed through
- A broken retaining tab that allows vibration to separate the connector
Pull on the connector body, not the wires. If the latch or a terminal-retention feature is damaged, simply pushing it together may be temporary; repair the connector with the correct sealed components and strain relief.
Step 5: Check voltage at the motor connector
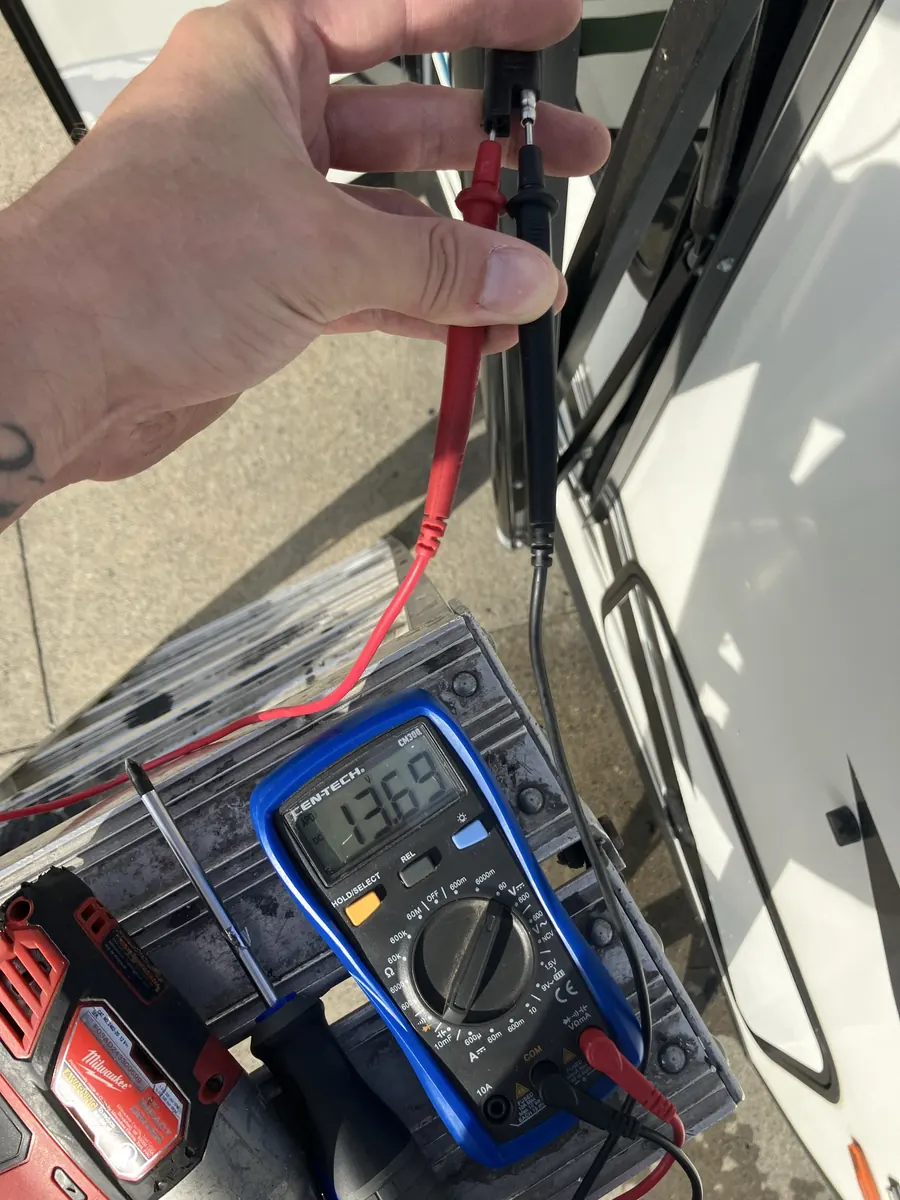
Place the probes across the two harness terminals and have a helper briefly press the switch. Check both directions. The voltage magnitude should be appropriate for the awning and the polarity should reverse. Use the model's service information for the minimum acceptable voltage.
Step 6: Decide whether the motor is actually bad
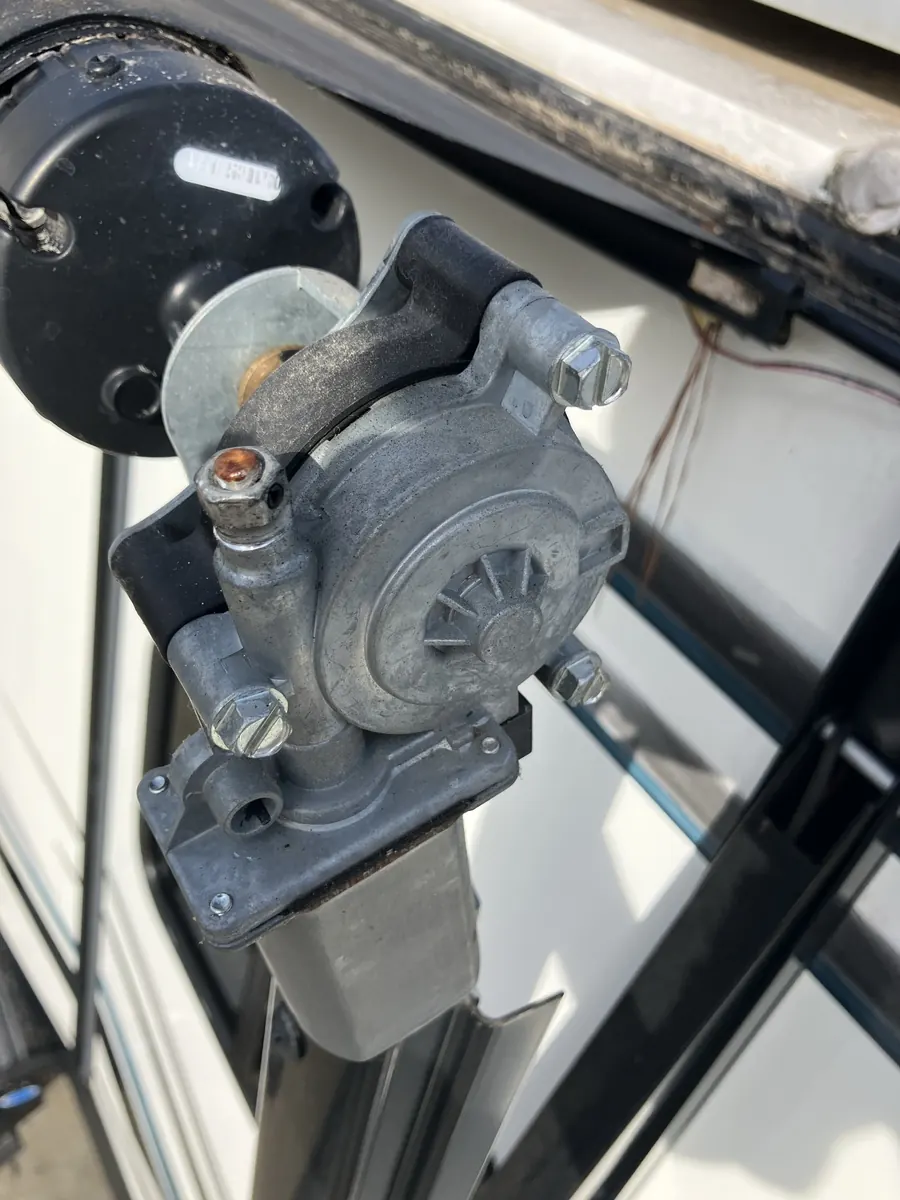
A motor or drive-head failure becomes likely only after all of the following are true:
- The exact awning model and wiring arrangement are identified.
- The battery and awning circuit maintain acceptable voltage during a command.
- The fuse, breaker, switch or controller and both motor wires have passed testing.
- The connector is fully locked, its terminals are tight and voltage reaches the connected motor.
- Polarity reverses correctly between EXTEND and RETRACT.
- Bent arms, fabric loading, seized hardware and other mechanical binding have been ruled out.
- The motor remains silent or fails to turn.
At that point, the motor or complete drive head may need replacement. Match the part by awning identification—not appearance alone—and follow the manufacturer's procedure. Some powered awning arms are loaded by gas struts or other stored force. Removing a drive-head fastener without securing the arms can let the assembly move suddenly.
What the reading can tell you
| Test result | What it means |
|---|---|
| No voltage at switch input | Trace fuse, breaker, battery feed, ground, controller or interlock |
| Input voltage but no switch output | Switch, connector or control problem is likely |
| Switch output but no voltage outside | Harness, splice or connector fault between switch and awning |
| Normal voltage unplugged, voltage falls when connected | High resistance, poor connection, weak supply or excessive motor/mechanical load |
| Voltage remains correct at connected motor, no movement | Motor/drive-head failure or mechanical lock becomes likely |
| Polarity does not reverse | Switch, controller or wiring configuration needs correction |
Why this repair is worth remembering
The connector was the last inexpensive part in the chain and the easiest one to overlook. The fuse could pass, the switch could pass and the harness could show battery voltage, yet the awning would remain completely silent because the final connection was not locked together. Checking that connector before ordering a motor saved both the part cost and the risk of unnecessary drive-head disassembly.
FAQ
Why does my RV power awning do nothing in either direction?
Begin with battery voltage, the labeled fuse or breaker and any ignition interlock. Then prove power into and out of the switch or controller, inspect the exterior harness and fully seat the motor connector.
Does 12 volts at the unplugged connector mean the motor is bad?
No. It proves the command reached the connector with almost no load. A poor connection can still collapse when the motor tries to draw current. Verify the connector and voltage under load before replacing the motor.
Why does my meter show a minus sign in one direction?
That is normally the switch reversing polarity to change motor direction. The meter lead placement stayed the same while positive and negative swapped.
Can I drive with an awning that will not operate?
Only if it is fully retracted, positively secured and verified safe for travel according to the manufacturer. Do not travel with a loose or partially deployed awning.
Related awning and 12V help
- Complete powered RV awning troubleshooting guide
- RV awning won't retract
- Solera awning won't retract
- Dometic 9100 awning won't retract
- RV battery is not charging
- RV 12-volt fuse keeps blowing
Sources and repair notes
The photos document one actual repair. Awning switch terminals, fuse ratings, connector locations, manual overrides and motor-replacement procedures vary by manufacturer and series. Reviewed July 22, 2026.
Still tracing a silent awning?
Use the exterior troubleshooter to work from the 12-volt supply toward the motor without skipping the connector between them.
Start awning diagnosisFind RV service