Most RVs use a converter/charger to turn 120-volt AC shore power into roughly 12-volt DC power for lights, control boards and battery charging. Some rigs use an inverter/charger instead. When the battery continues to discharge while the RV is plugged in, work through the power path in order. Guessing at the converter before confirming its input can waste time and money.
1. Confirm that shore power is actually reaching the RV
Check whether known 120-volt loads work, such as a standard receptacle or microwave display. Reset the pedestal breaker and the RV main breaker by moving each fully off before switching it on. Inspect the shore cord, adapters and inlet for darkening, looseness, melted plastic or unusual warmth. A 50-amp RV can lose one hot leg and still appear partly powered.
If an electrical management system is installed, read its display. It may intentionally block power for low voltage, high voltage, open neutral, reverse polarity or a built-in start delay.
2. Measure the battery at rest and while plugged in
With the charging source off and the battery rested, measure directly across the battery posts—not the cable clamps. A fully charged lead-acid battery is commonly near 12.6 volts at rest, while a deeply discharged one may be close to 12.0 volts. Battery chemistry, temperature and recent charging affect the exact reading.
Connect shore power and wait several minutes. A working charger should normally raise voltage above the resting level. The exact target depends on battery chemistry, charger profile and charging stage. If voltage does not rise, continue upstream. If voltage rises at the converter but not at the battery, suspect a fuse, breaker, disconnect switch, cable or ground connection.
3. Check the converter’s AC supply
Find the converter or inverter/charger using the owner documentation and equipment label. Verify its branch breaker is on. Some converters plug into a receptacle that may be protected by a GFCI. A tripped upstream GFCI can silently remove charger power while other RV circuits continue working.
Listen for the cooling fan, but do not treat silence as proof of failure; many fans run only when temperature or load requires them. Confirm ventilation openings are not blocked by stored gear.
4. Inspect the DC charging path
Turn off and isolate power before handling fuses or cables. Check the battery-disconnect switch is in the use or on position. Inspect the main fuse or resettable breaker near the battery and the reverse-polarity fuses specified by the converter manufacturer. Replace a fuse only with the same type and rating. A replacement that opens again indicates a fault that needs diagnosis.
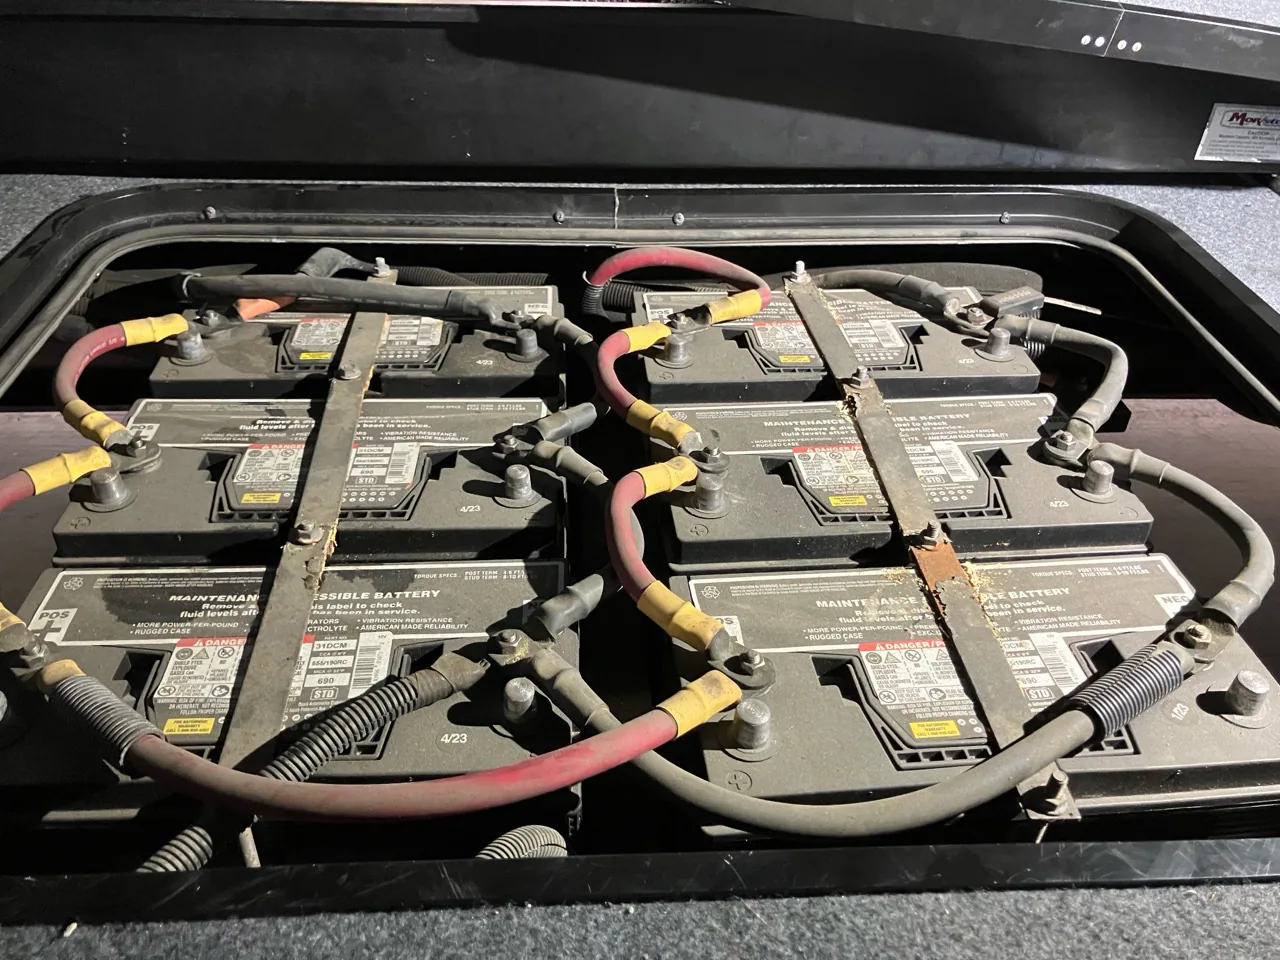
Inspect battery terminals and frame grounds for corrosion, looseness and heat. High resistance can allow a meter to show voltage with no load while preventing meaningful charging current.
5. Separate a charger problem from a battery problem
A damaged battery can pull charger voltage down or appear charged immediately while storing very little energy. Charge the battery fully with a known-good, chemistry-compatible charger and have it load or capacity tested. Batteries in a series or parallel bank should be inspected individually and as a complete bank.
What the results usually mean
- No 120V at the charger: trace the breaker, GFCI, transfer switch or shore-power path.
- AC input present, no DC output: the converter/charger, its configuration or protective fuses may have failed.
- Charging voltage at converter but not battery: inspect disconnects, main protection, cables and grounds.
- Charging voltage reaches battery but runtime is poor: test battery capacity and unintended loads.
Separate the charging source from the battery path
An RV battery may fail to charge because no charger is producing output, because the output cannot reach the battery, or because the battery cannot accept charge. Those are different problems. Start by identifying the source: shore-power converter, inverter/charger, solar controller, tow vehicle charge line or generator-powered charger.
Useful voltage checks
| Where to measure | What it tells you |
|---|---|
| Battery posts at rest | Approximate state of charge |
| Battery posts while plugged in | Whether charging voltage reaches the battery |
| Converter output | Whether the charger itself is producing DC |
| Both sides of main fuse/breaker | Whether the battery path is open |
Common path failures
Main battery fuses, reverse-polarity fuses, resettable breakers, battery disconnect relays, loose grounds and corroded terminals are common. A converter can be working while the battery remains isolated. Likewise, 12V lights can work from converter output while the battery itself is not being charged.
Lithium batteries add another layer
LiFePO4 batteries may require a compatible charge profile, may shut down through the battery-management system, and may refuse charging below their low-temperature limit. A charger designed only for lead-acid batteries may never reach a lithium battery's preferred voltage or may behave oddly after the battery sleeps.
Do not ignore battery condition
A sulfated, shorted, frozen, overheated or swollen battery is not a charging-system repair. If voltage rises quickly then collapses under load, the battery may lack usable capacity. Load testing after a full charge is often more useful than replacing converters or solar parts by guesswork.
Want a diagnosis tailored to your symptom?
Use the electrical walkthrough to narrow down battery, converter, fuse and shore-power faults. If the battery charges but does not last long enough, estimate real-world capacity with the battery runtime calculator.
When to call a professional
Stop for hot cables, swelling or leaking batteries, repeated fuse failure, burned connections, unstable shore voltage or any test that requires opening a live distribution panel. Inverter/chargers can involve both high DC current and lethal AC voltage.
Charging sources can disagree
An RV may charge correctly from shore power but not from solar, from solar but not the converter, or from the tow vehicle only while driving. Test one source at a time. Turn off or isolate other charging sources when possible so you know which one is actually raising battery voltage. Otherwise, a solar controller can hide a failed converter or a converter can hide a disconnected solar controller.
What normal charging looks like
Exact voltage depends on battery chemistry and charger stage, but the basic pattern is simple: when a charger is active, voltage at the battery should rise above resting voltage. Lead-acid batteries normally need multi-stage charging and time to absorb. Lithium batteries often hold a flatter voltage curve and may need a charger profile designed for LiFePO4. If voltage never changes at the battery posts, either the charger is not working or the path to the battery is open.
Charging problems after battery replacement
Many charging complaints start after new batteries are installed. Check polarity, series/parallel wiring, battery-disconnect state, main fuses and whether the new battery chemistry matches the converter setting. A single wrong cable can disable charging, damage fuses or create dangerous heat.
More model-specific help
Sources and review notes
This guide is general owner education. Specifications and procedures must be confirmed with the manuals for the installed battery and charger. Safety framing was reviewed against general guidance from NFPA electrical safety resources and manufacturer-first diagnostic practice.